Before you continue with this tutorial. You may also consider watching video tutorial here.
Log in
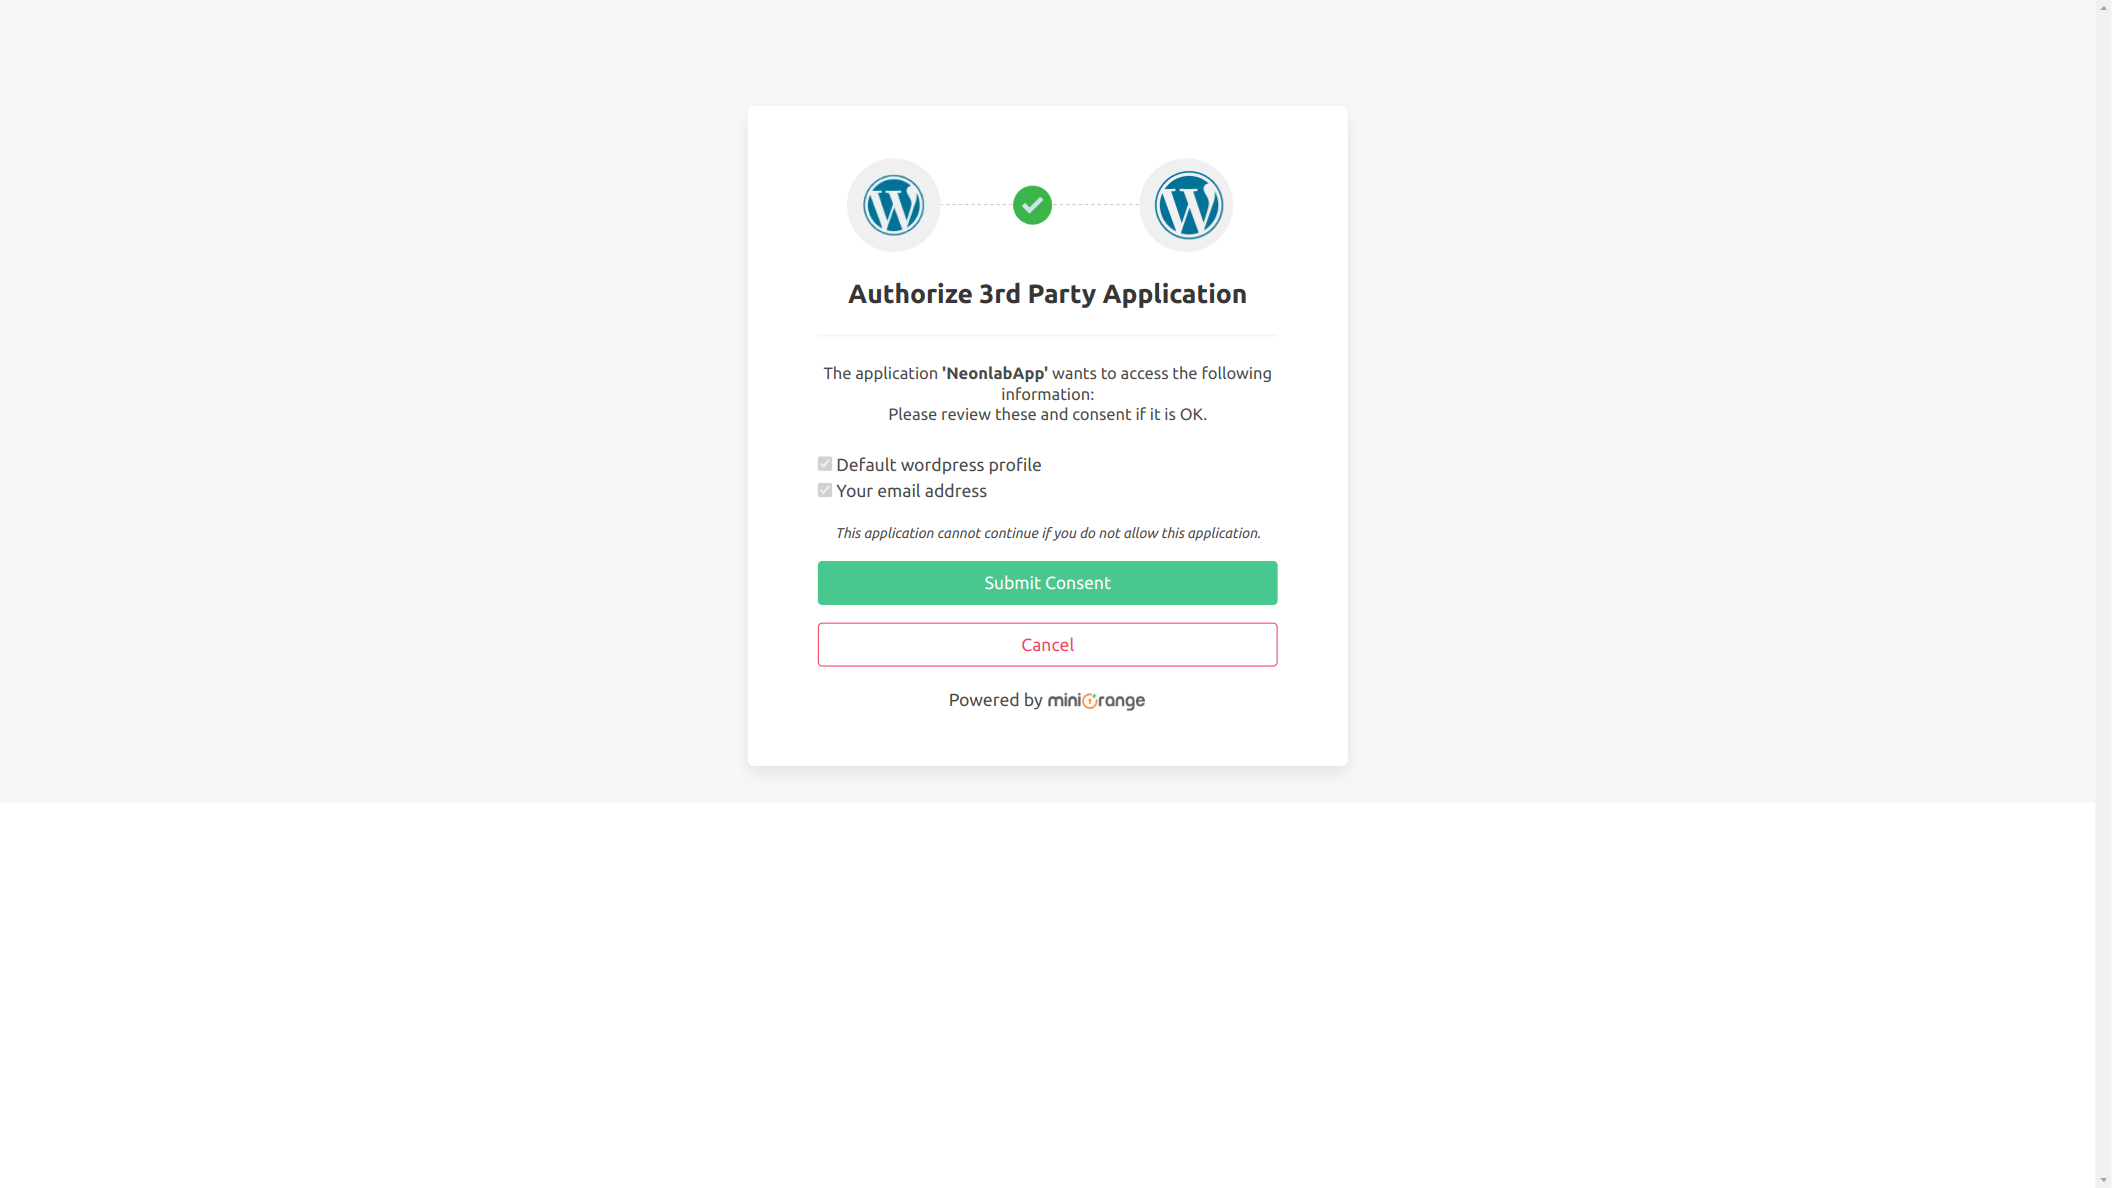
First step of this tutorial is to visit Neonlab App at https://creator.neonlab.app. Then Log into App. You will see confirmation box if your session is valid. Then just click green button “Submit consent”.
If your session has expired then you will see two input fields which you need to fill in with your account credentials. That is, email and password which you used for registration.
First view
After successful authorization you will be redirected to App with green message “Success. Subscription is active”. If this is your first visit then you will be welcomed with Guide Popup. If you decide to go through guide which I encourage you to do then click black arrow. If you feel confident then click “Skip” button. Don’t worry you can always restart guide in the menu. Now the good part…
*Tutorial/Guide walkthrough – if you decide to complete guide then there is not much left to say. Just read and fallow instructions in the message box. Guide will light up every element which you need to click and cover everything else in semi transparent black so you can’t click anything else and won’t get distracted. After you complete guide you will have much better feeling of the application 🙂

Buildplates
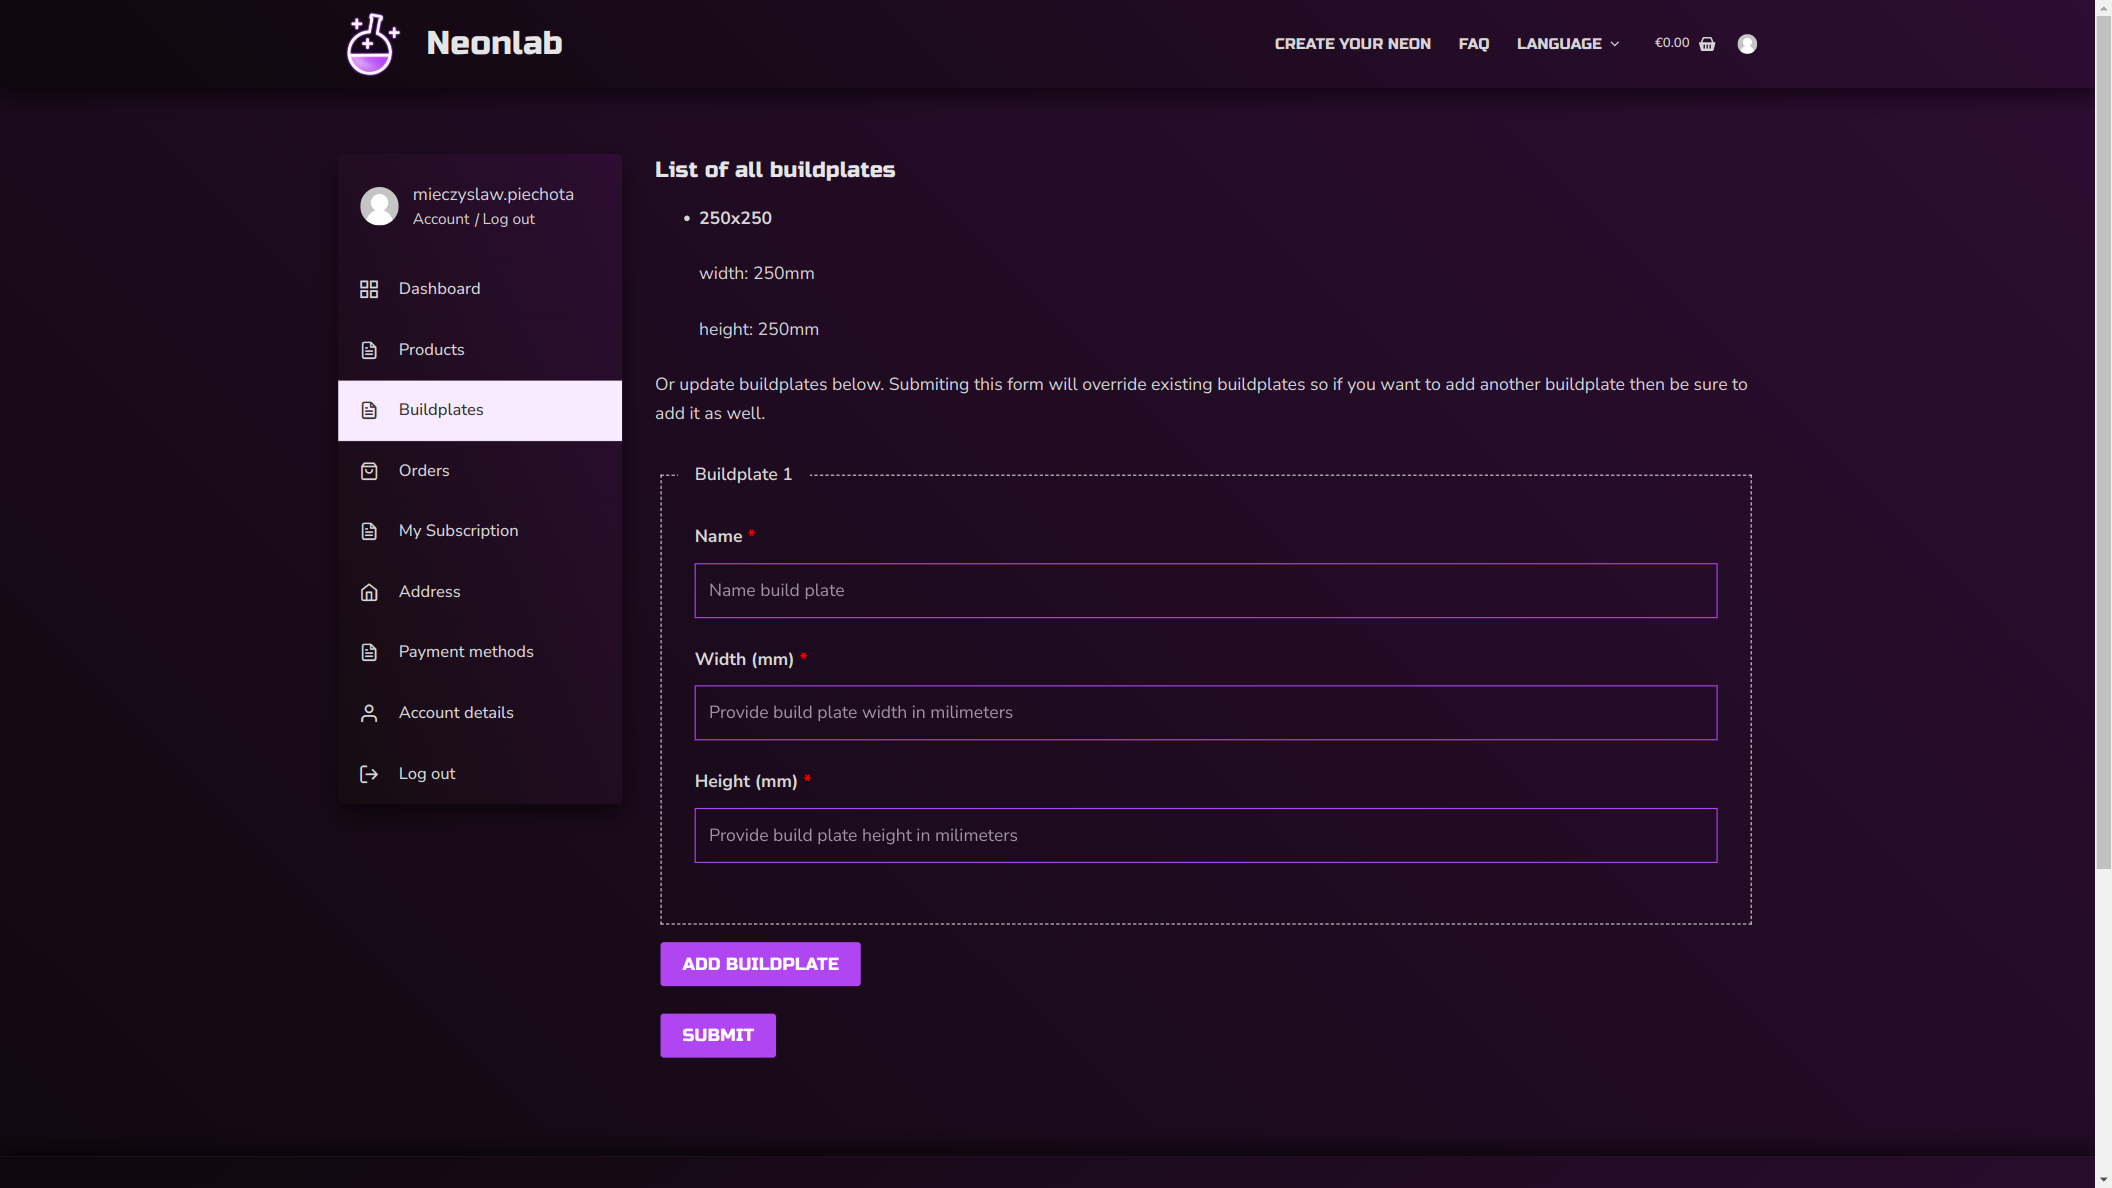
Let’t focus on grid right now. These gray lines which forms squares are graphic representation of your 3D machine buildplate / workspace. Single square represents 1 centimeter. If you haven’t set your buildplate in App before and you wish to change buildplate size then visit your account dashboard at: https://neonlab.app/my-account/customer-buildplates/
On that page you can add multiple buildplate sizes and then submit. Name this buildplate size so you can easly remember the dimensions. Good practice is to name it after specific machine like Creality Ender 3 or Onefinity Forman Elity. As an alternative you can just use dimensions 250x250mm. Remember that width and height must be in milimeters. Do not use fractions.
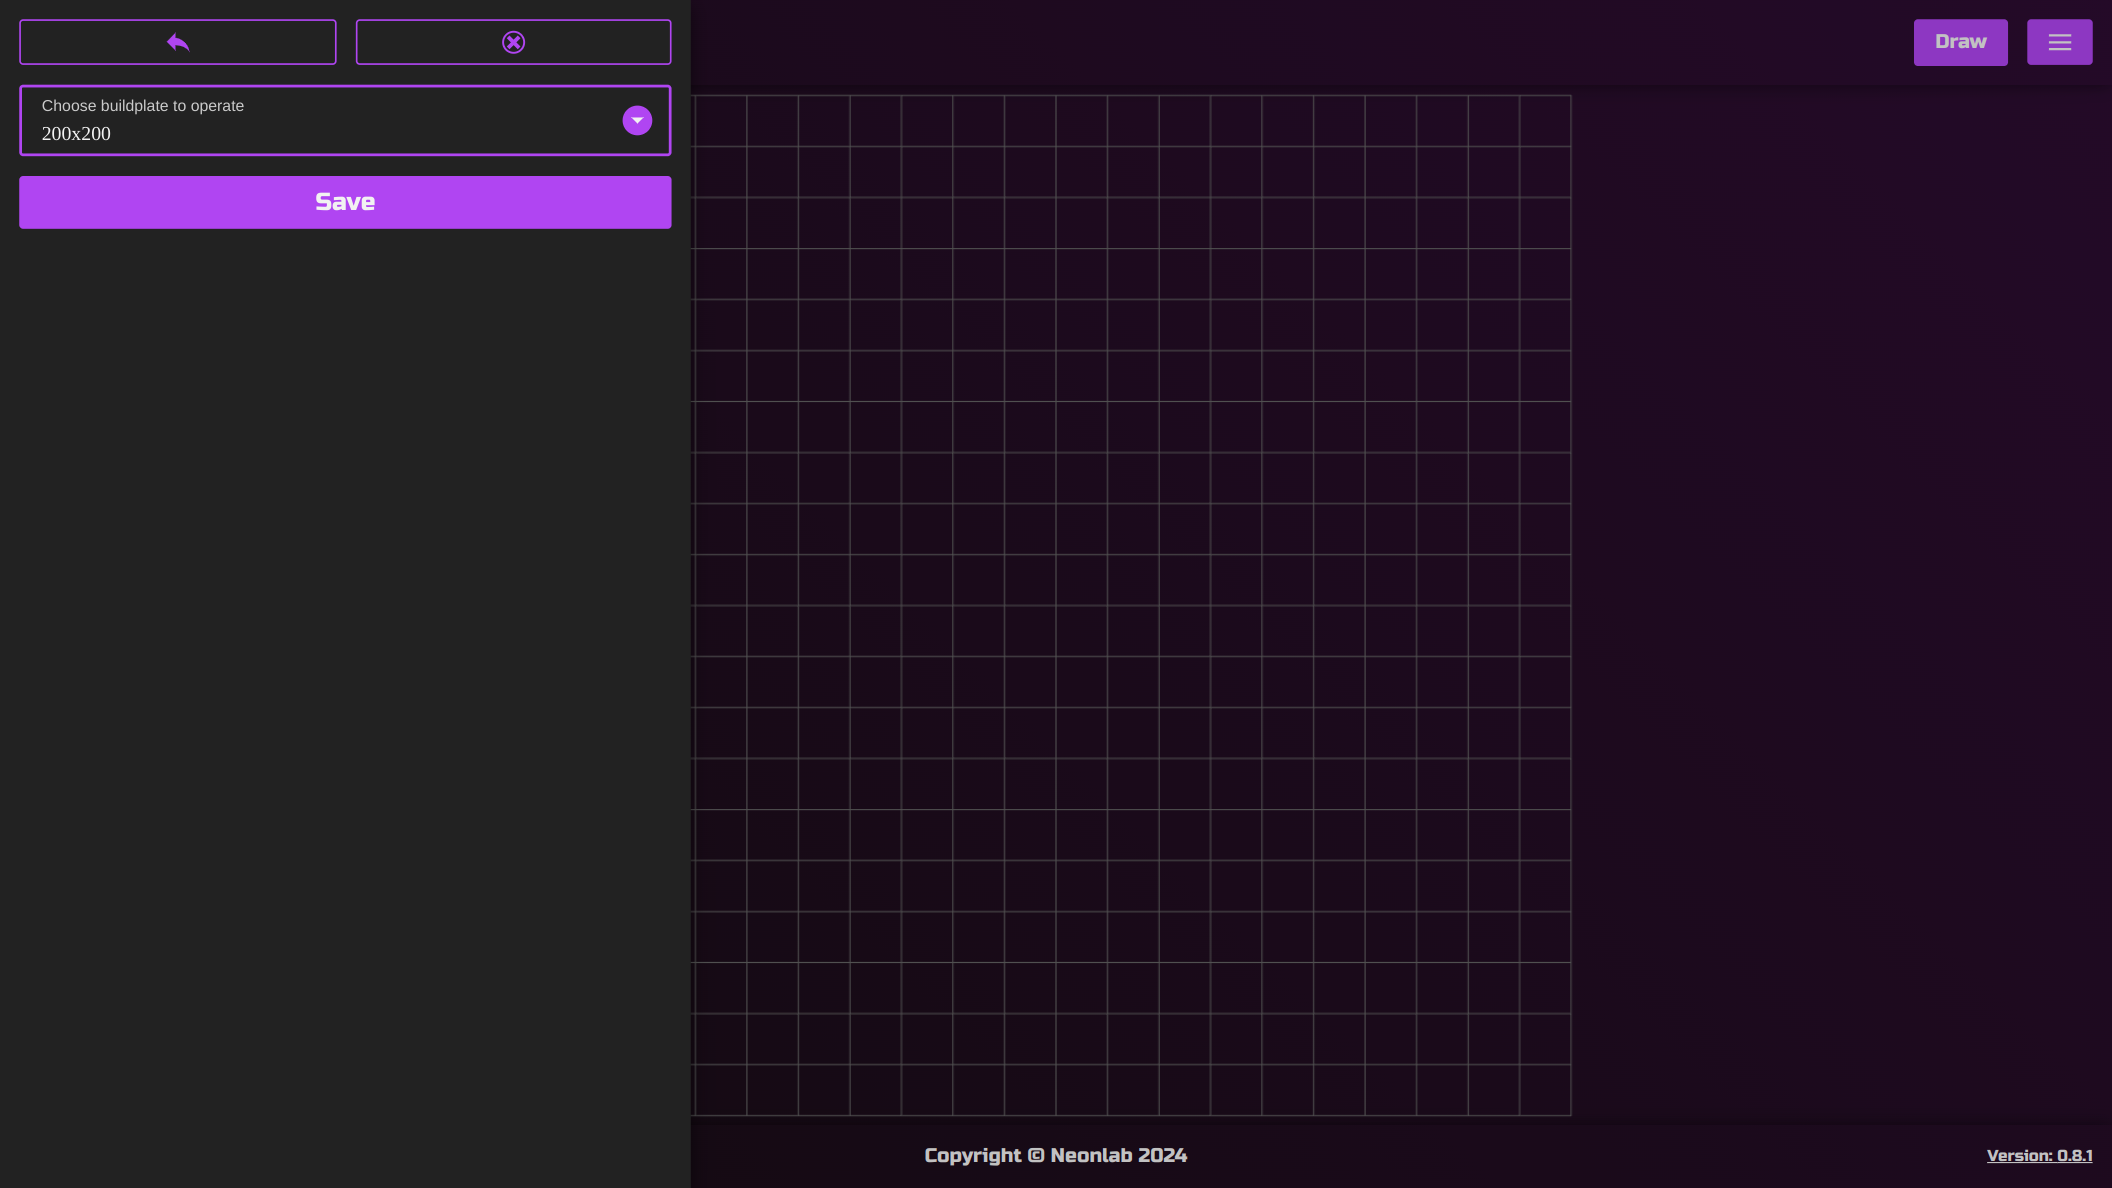
Now you can switch between buildplate sizes in Neonlab App (https://creator.neonlab.app). To do that click menu button, that one with three horizontal lines. Then click “Buildplates” and here you can swamp between different preconfigured buildplates. Default is always one at the top in your account buildplates dashboard. In this tutorial I use default 200x200mm. Then click “save” to confirm chosen option and close menu (you can click workspace to close menu).
Background image
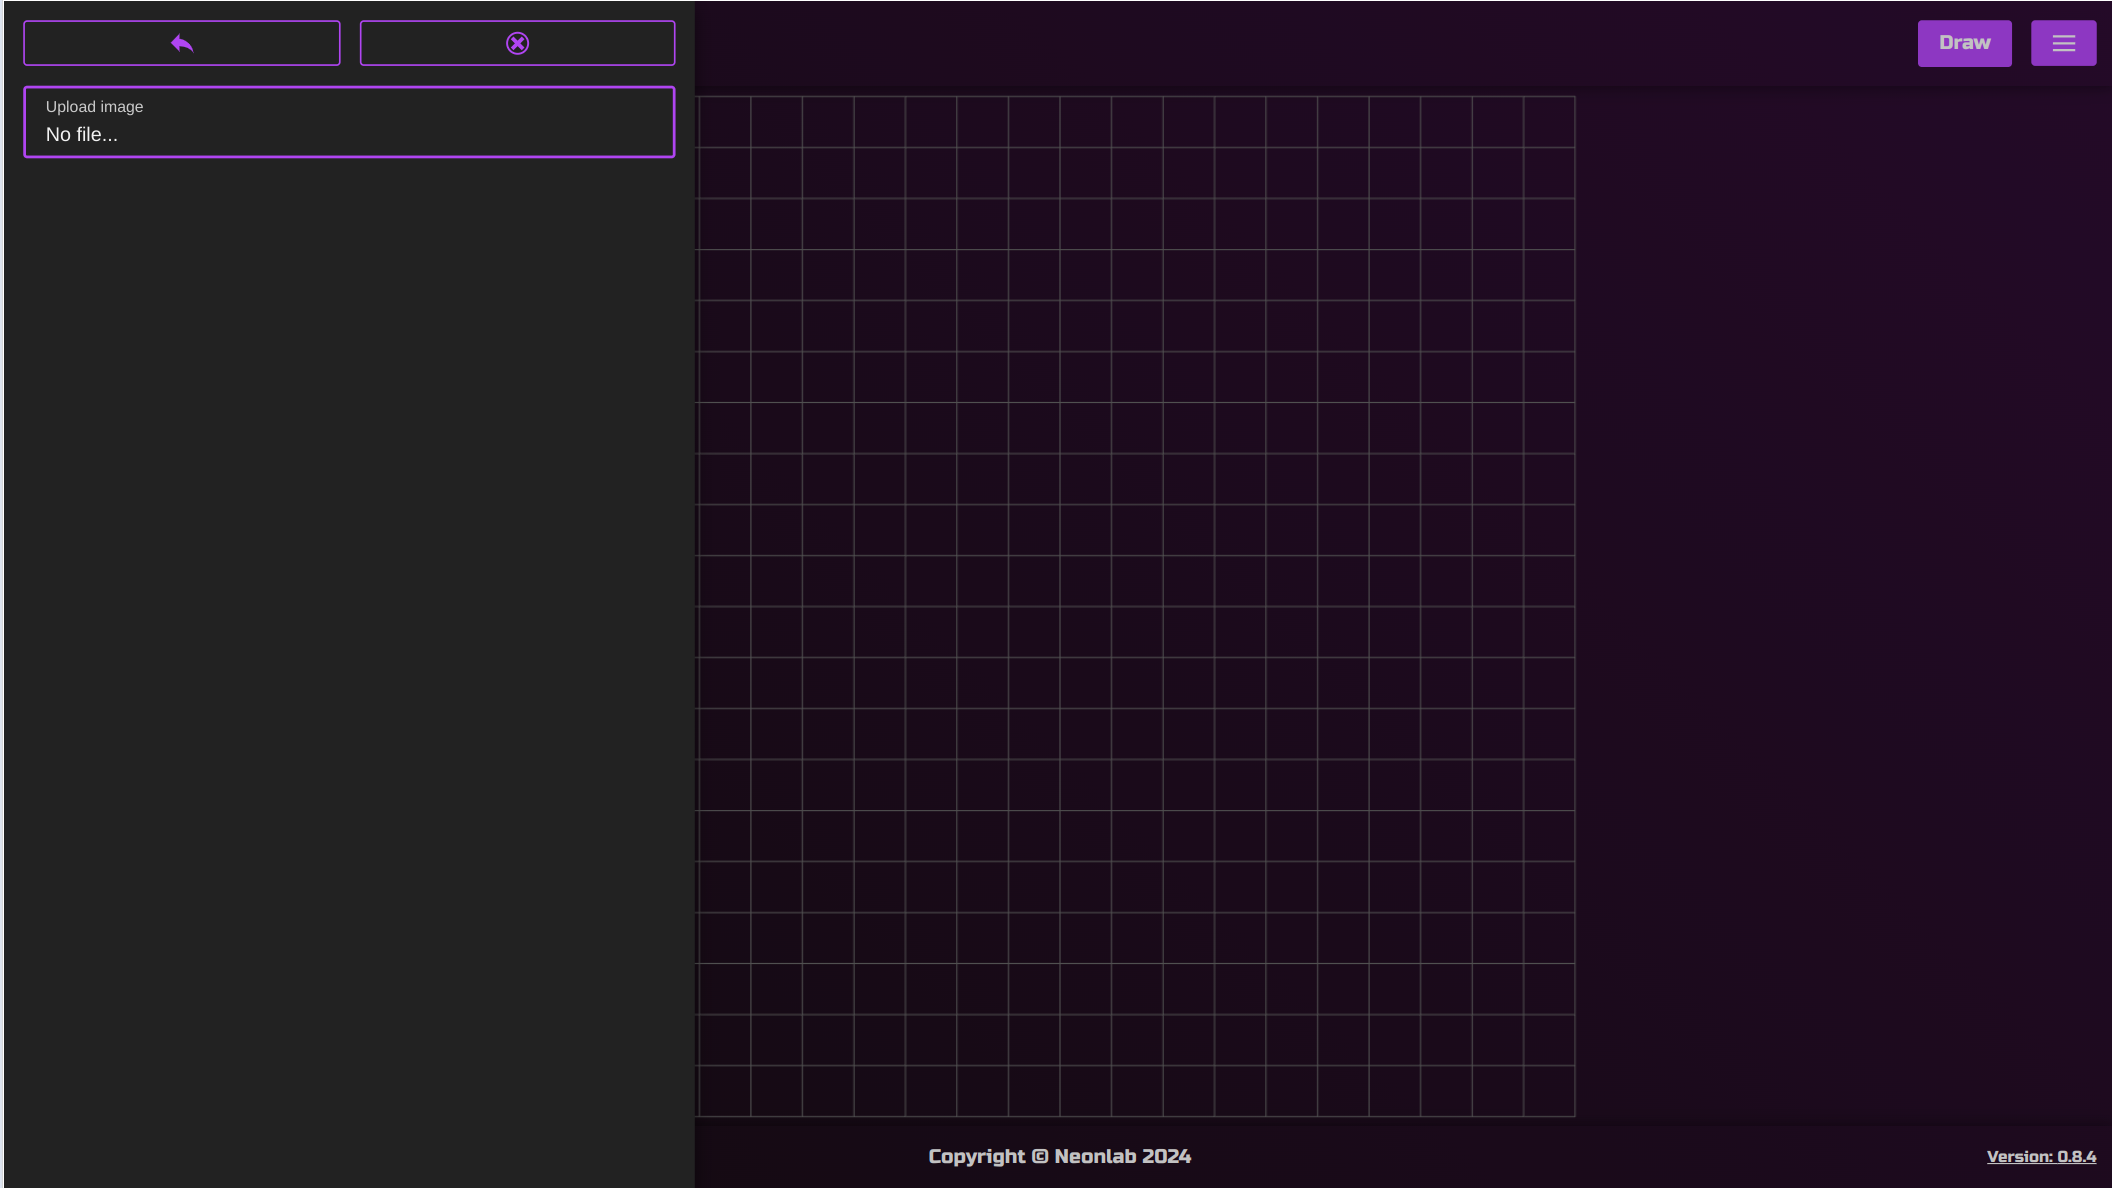
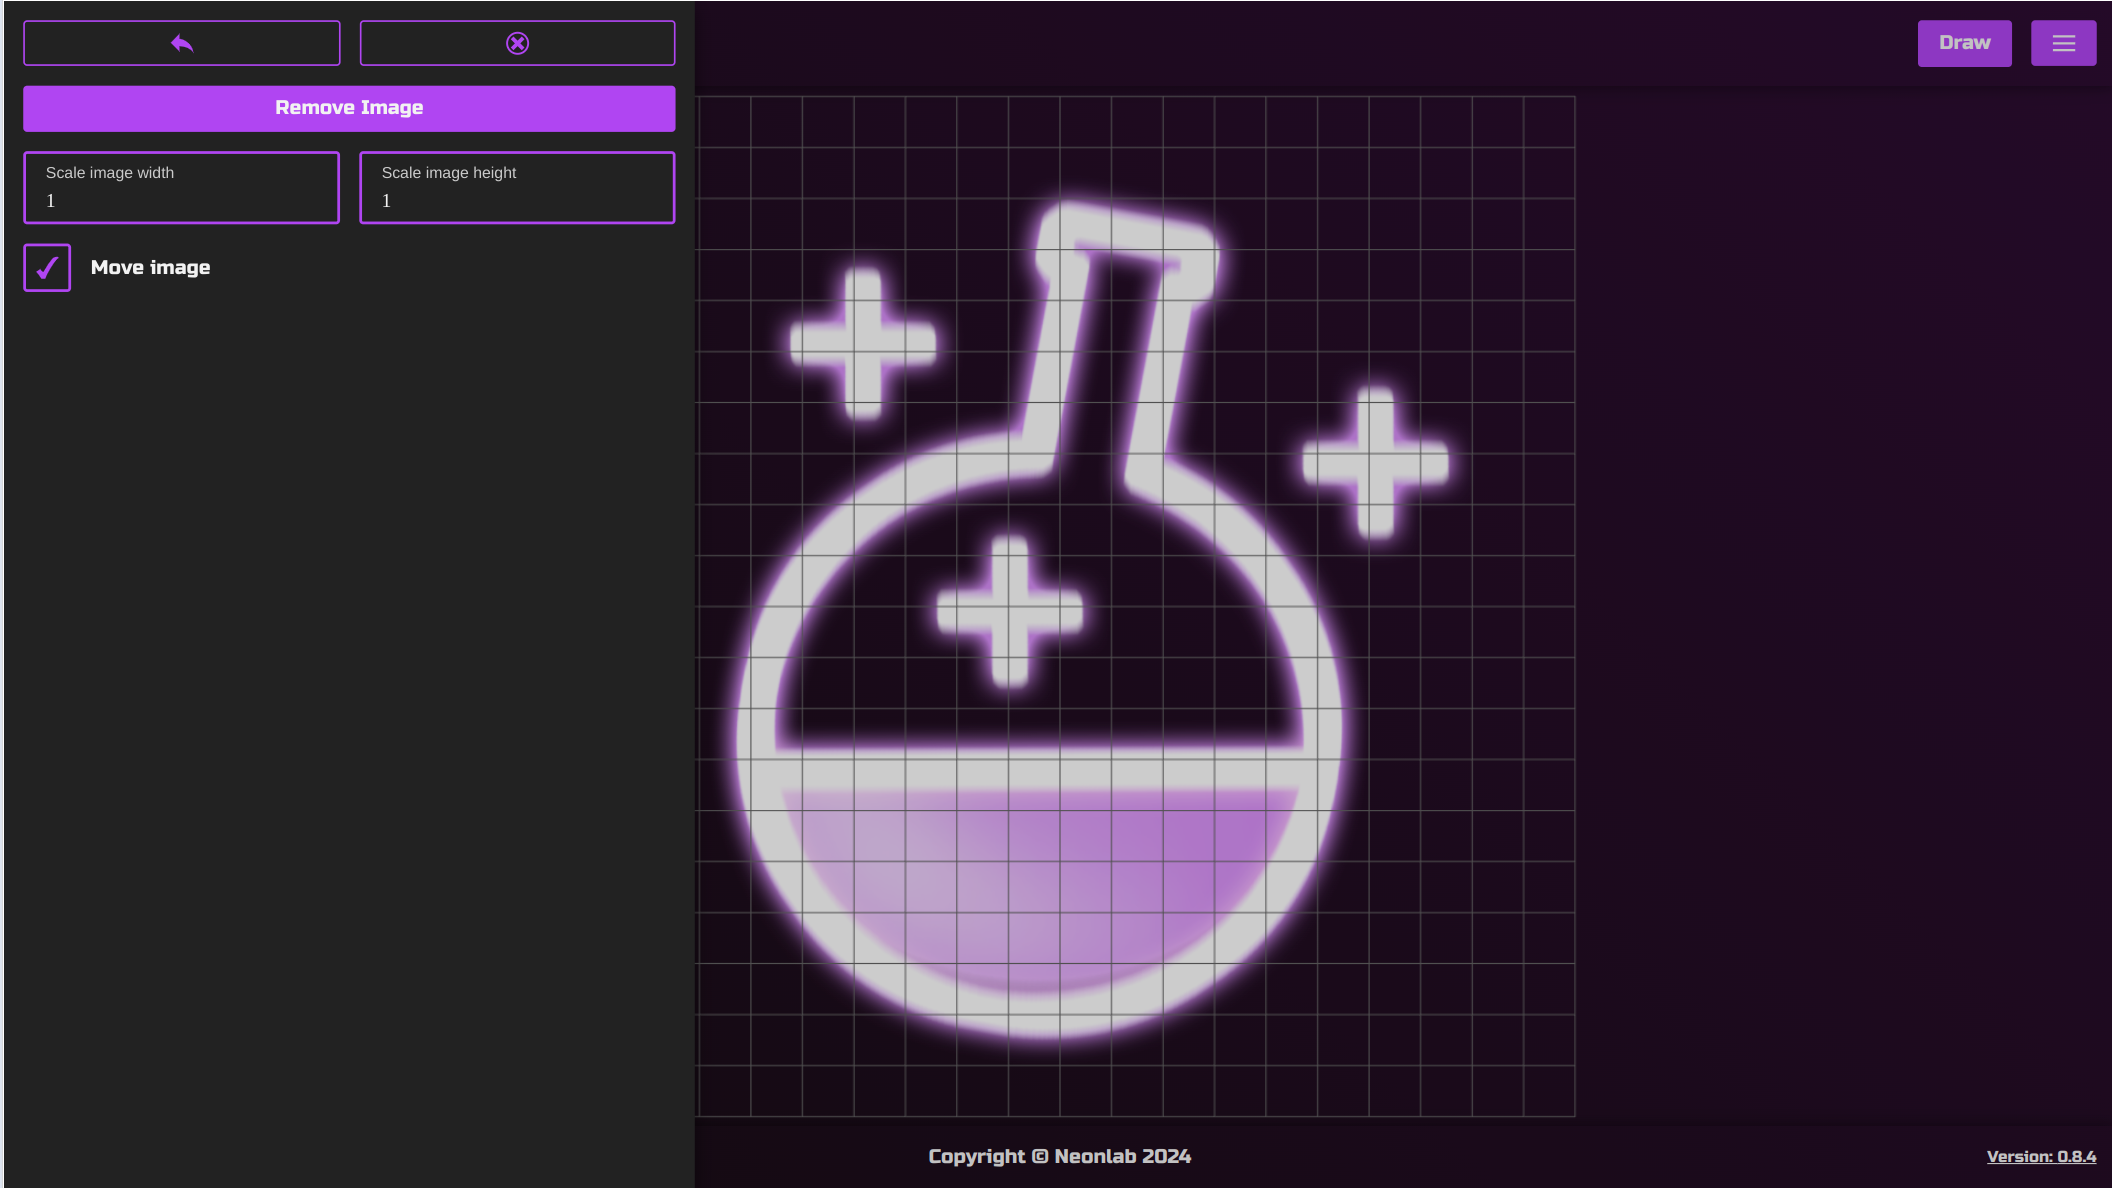
There is also option to add background image. This is very helpful when you have to recreate graphic (eg. logo). Just fallow the contour of the image. Here you can toggle image move and align it the way you want on the workspace. Also you can scale image here. When image is chosen you can remove and add different one.
In this tutorial I choose not to add background image because I want to create a capital letter “B”.
Drawing time!
Now the best part of the tutorial. Click “draw” button in top right corner. I want to create a Neon LED sign which represents letter “B”. Also I want it to be in dimensions 60x100mm. Neon is created with straight lines but that does not mean you cannot create round objects. You just need to create more “joints” which means shorter lines to create “roundness”. Also Neon LED strip is elastic so it will not bend physically the same as lines in app does.
When you start draw you will notice a semi transparent dot which fallows your mouse cursor. It represents physical space of “U-shape” 3D model which will be printed on you 3D printer. Diameter is set to 7.5mm. 5.5mm is saved for Neon LED strip which has 5mm width (0.5 is left for some better usability). Last 2mm are for two 1mm “walls” around Neon LED strip to fit designed shape.
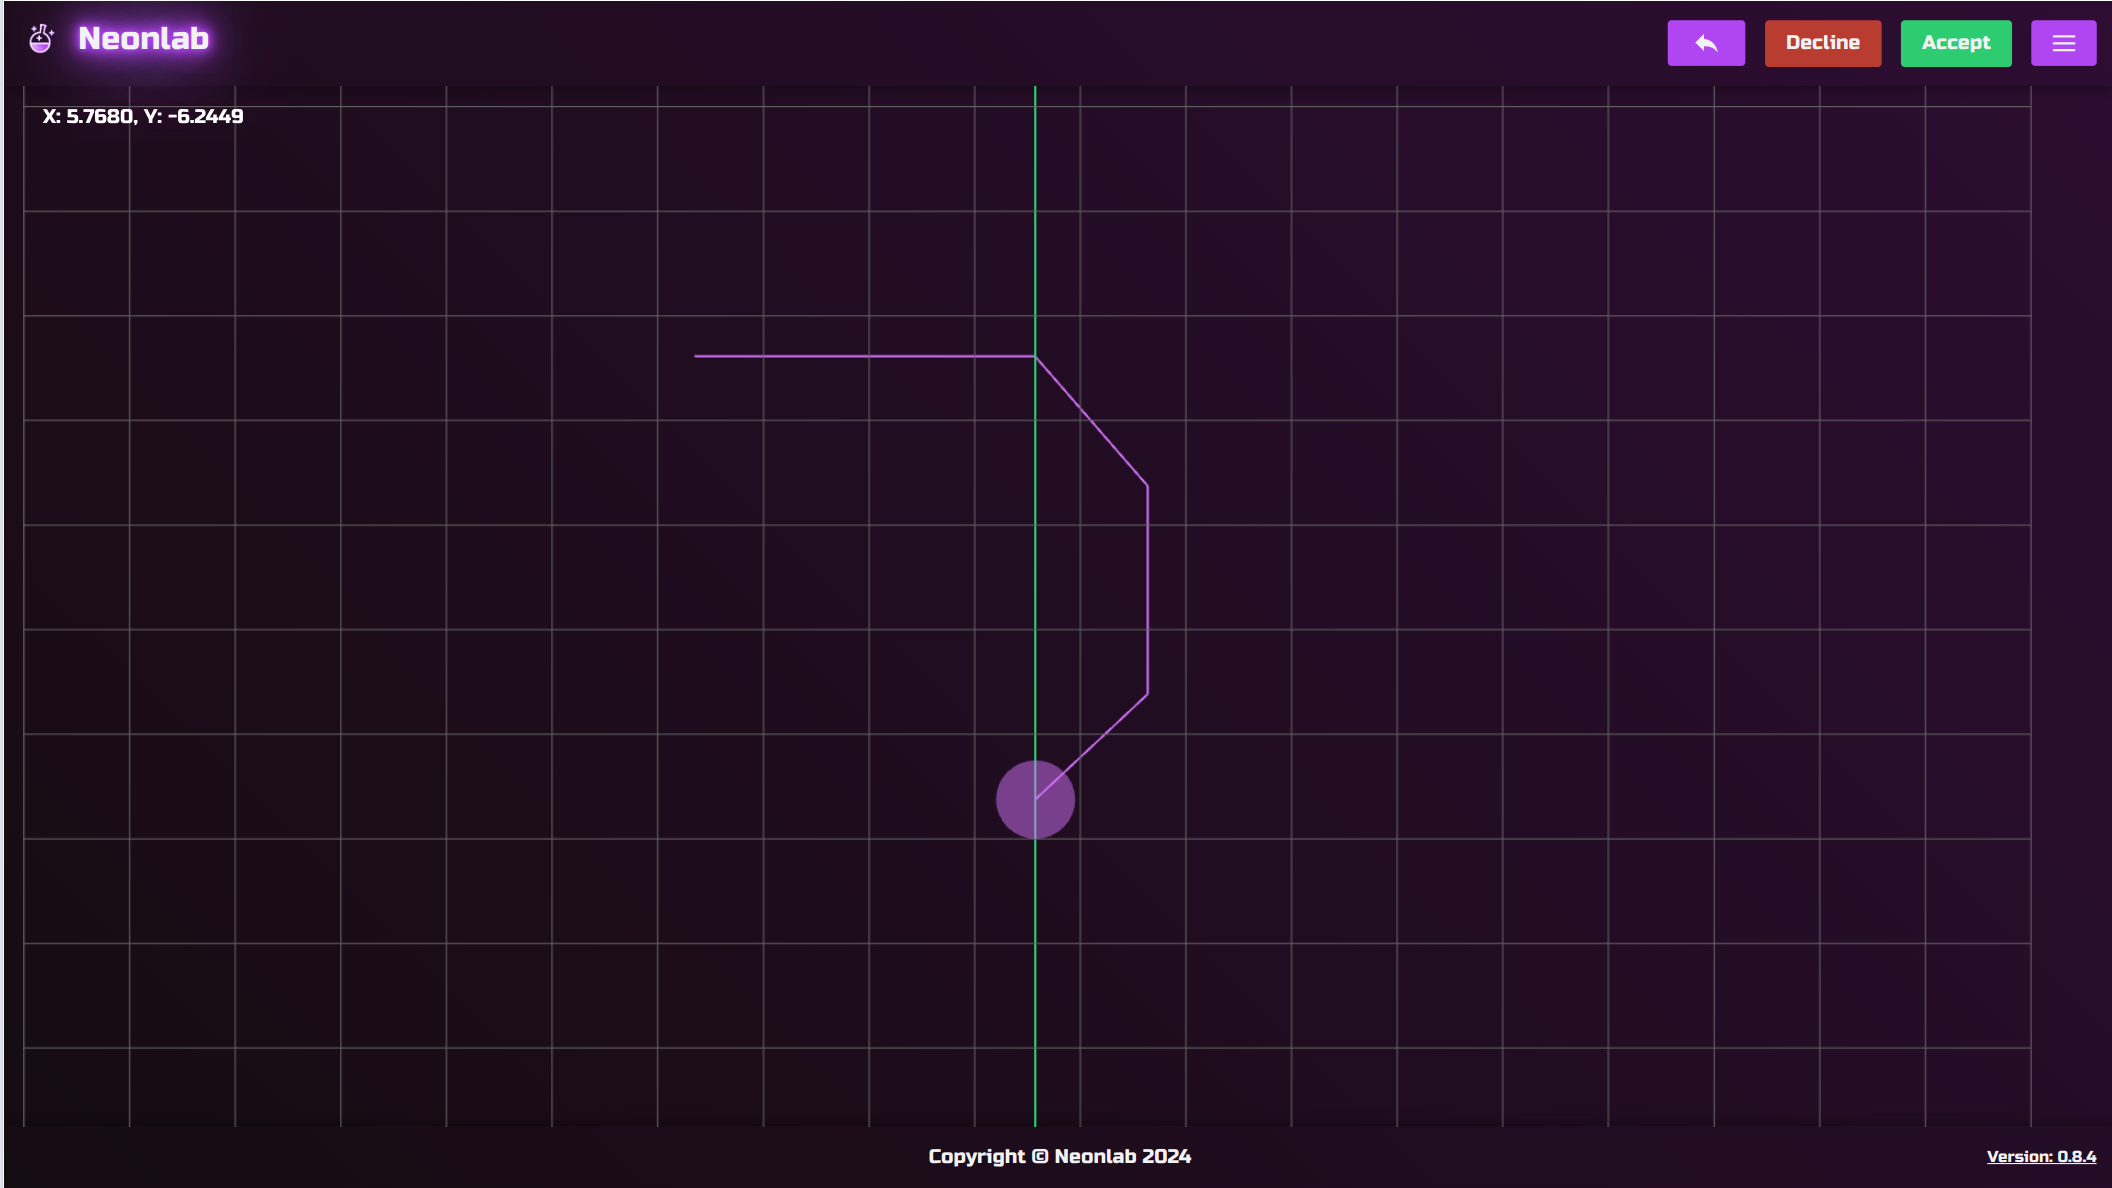
Here I want to create lines in 90 and 45 degrees. In Neonlab App you can hold “shift” key on your keyboard to create such lines. When you hold shift lines will be forced to be 90 or 45 degrees in direction closest to your mouse cursor current position.
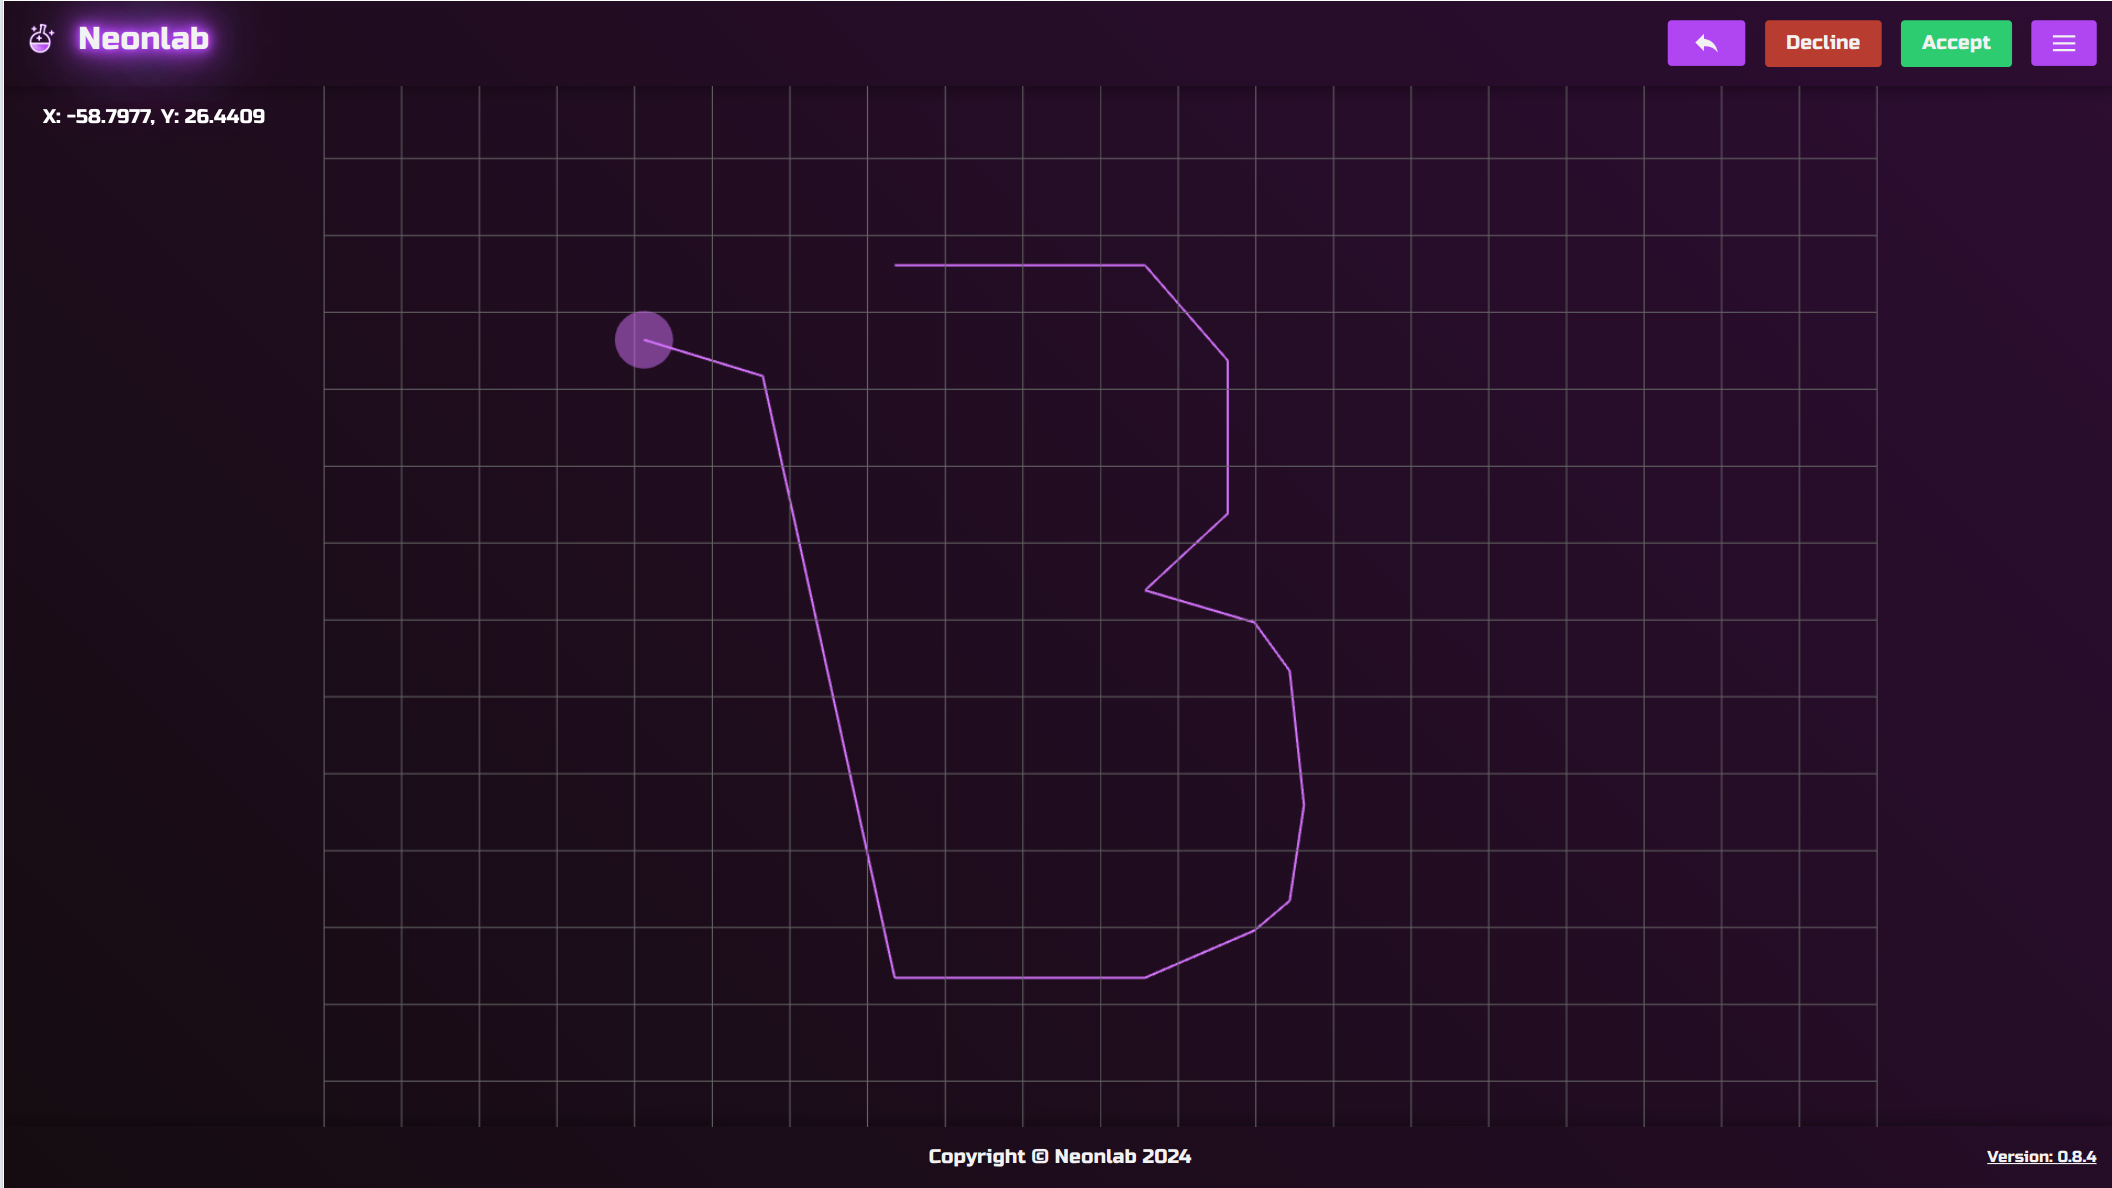
After I reached point shown on screen I wanted to make joint parallel to the top one I created before. To do so hold “ctrl” key on your keyboard. This will show green guide line when you reach with your mouse a point in parallel in horizontal or vertical direction. Then when you are close to guide line, drawing line will snap to the guide line. This situation is presented on screen.
Undo and Decline
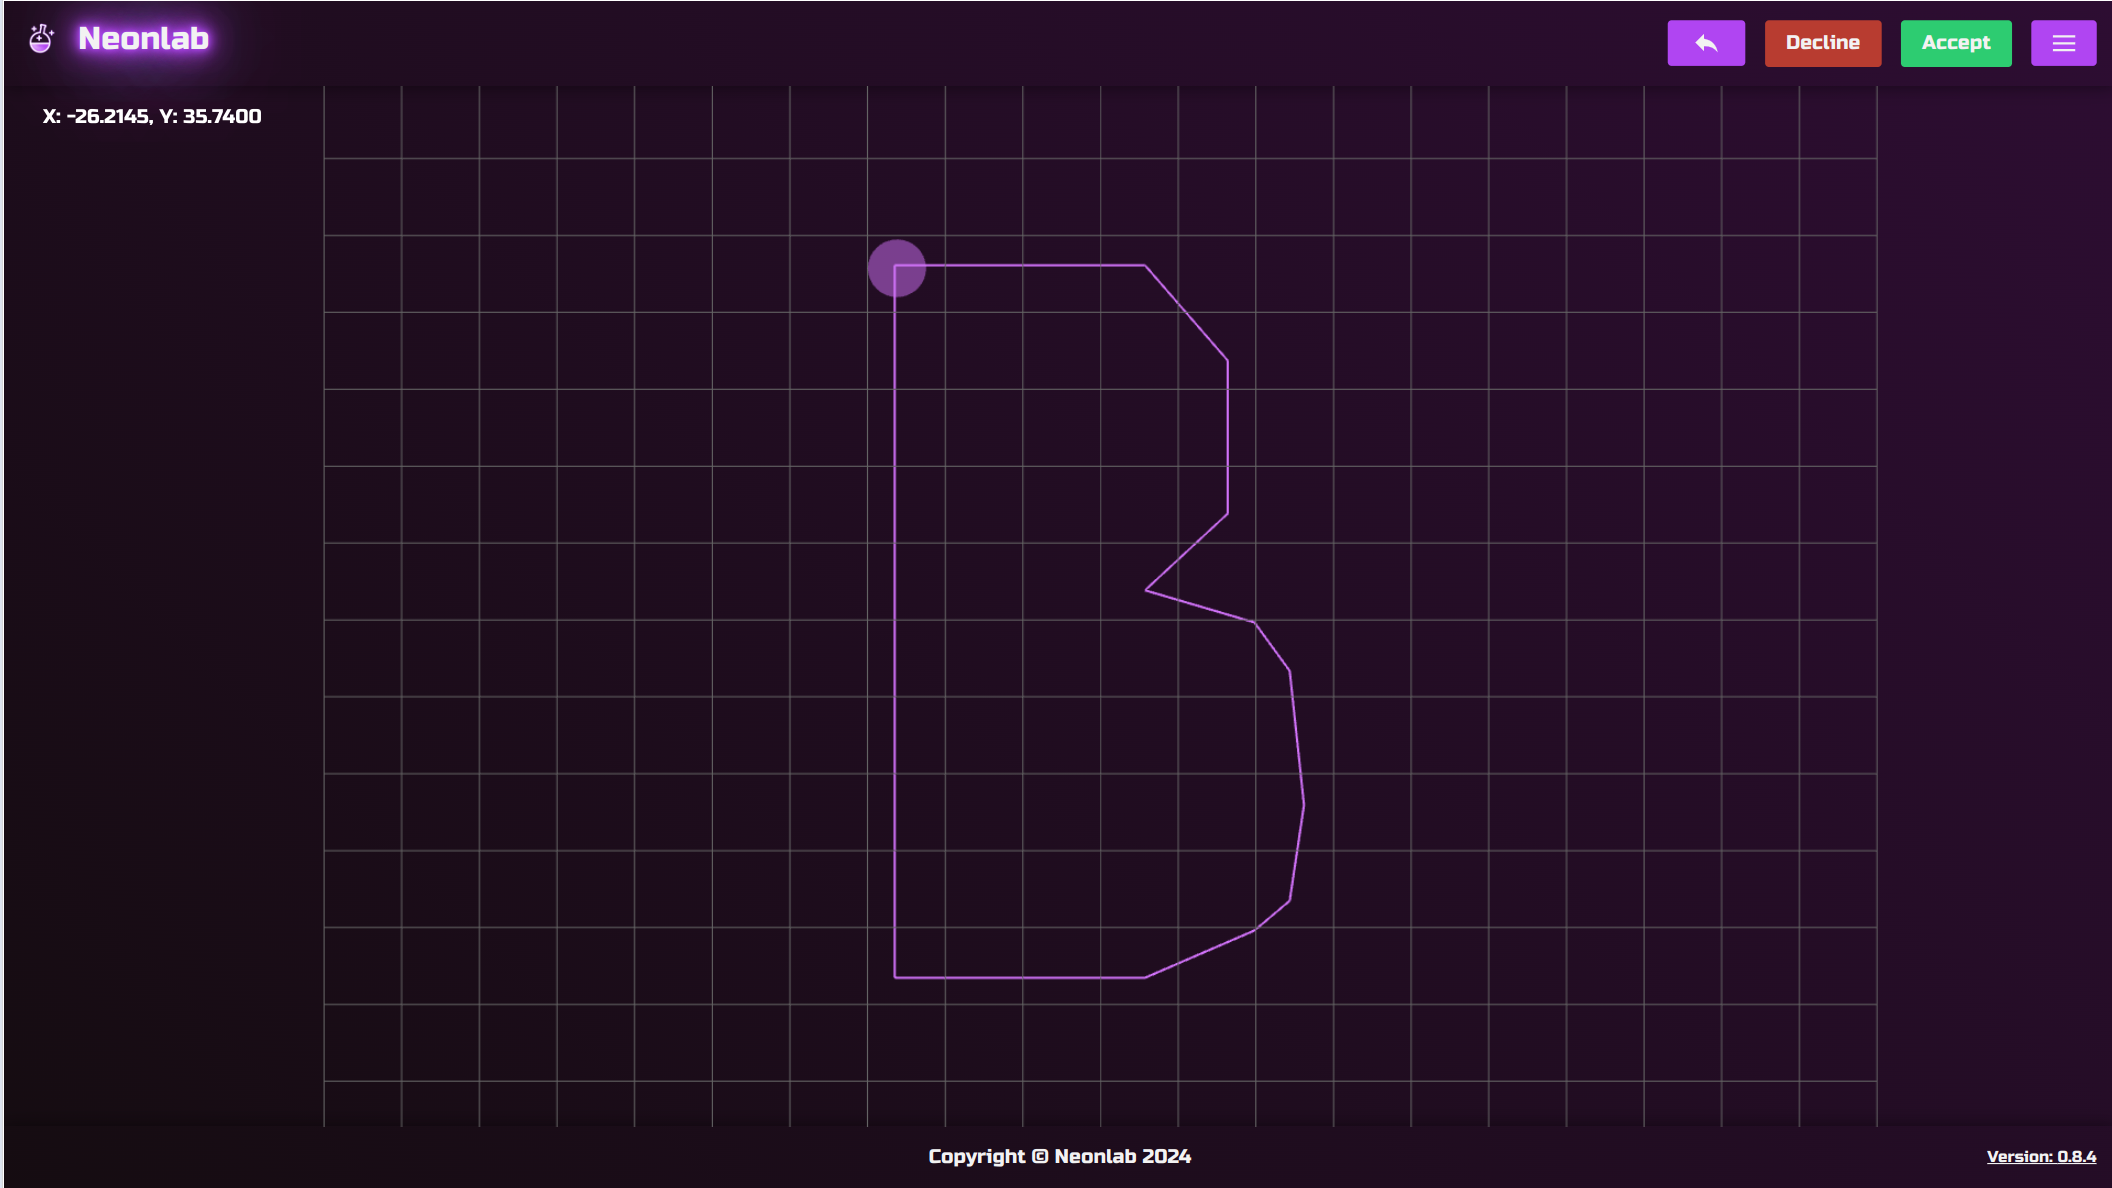
I made a mistake and I added wrong point. Don’t worry you can always undo as many times as you want. To undo you have two options. First one is to click violet button at the top right corner with “arrow pointing left” or click combination “ctrl+z” keys on your keyboard.
If you feel like this project is not what you wanted. You can always click red button “Decline” which will remove currently draw shape and you can start again.
On the other hand if you are satisfied with the results then click green button “Accept” or hit “Enter” key on your keyboard which will create “U-shape” for your Neon LED.
Finish or draw again?
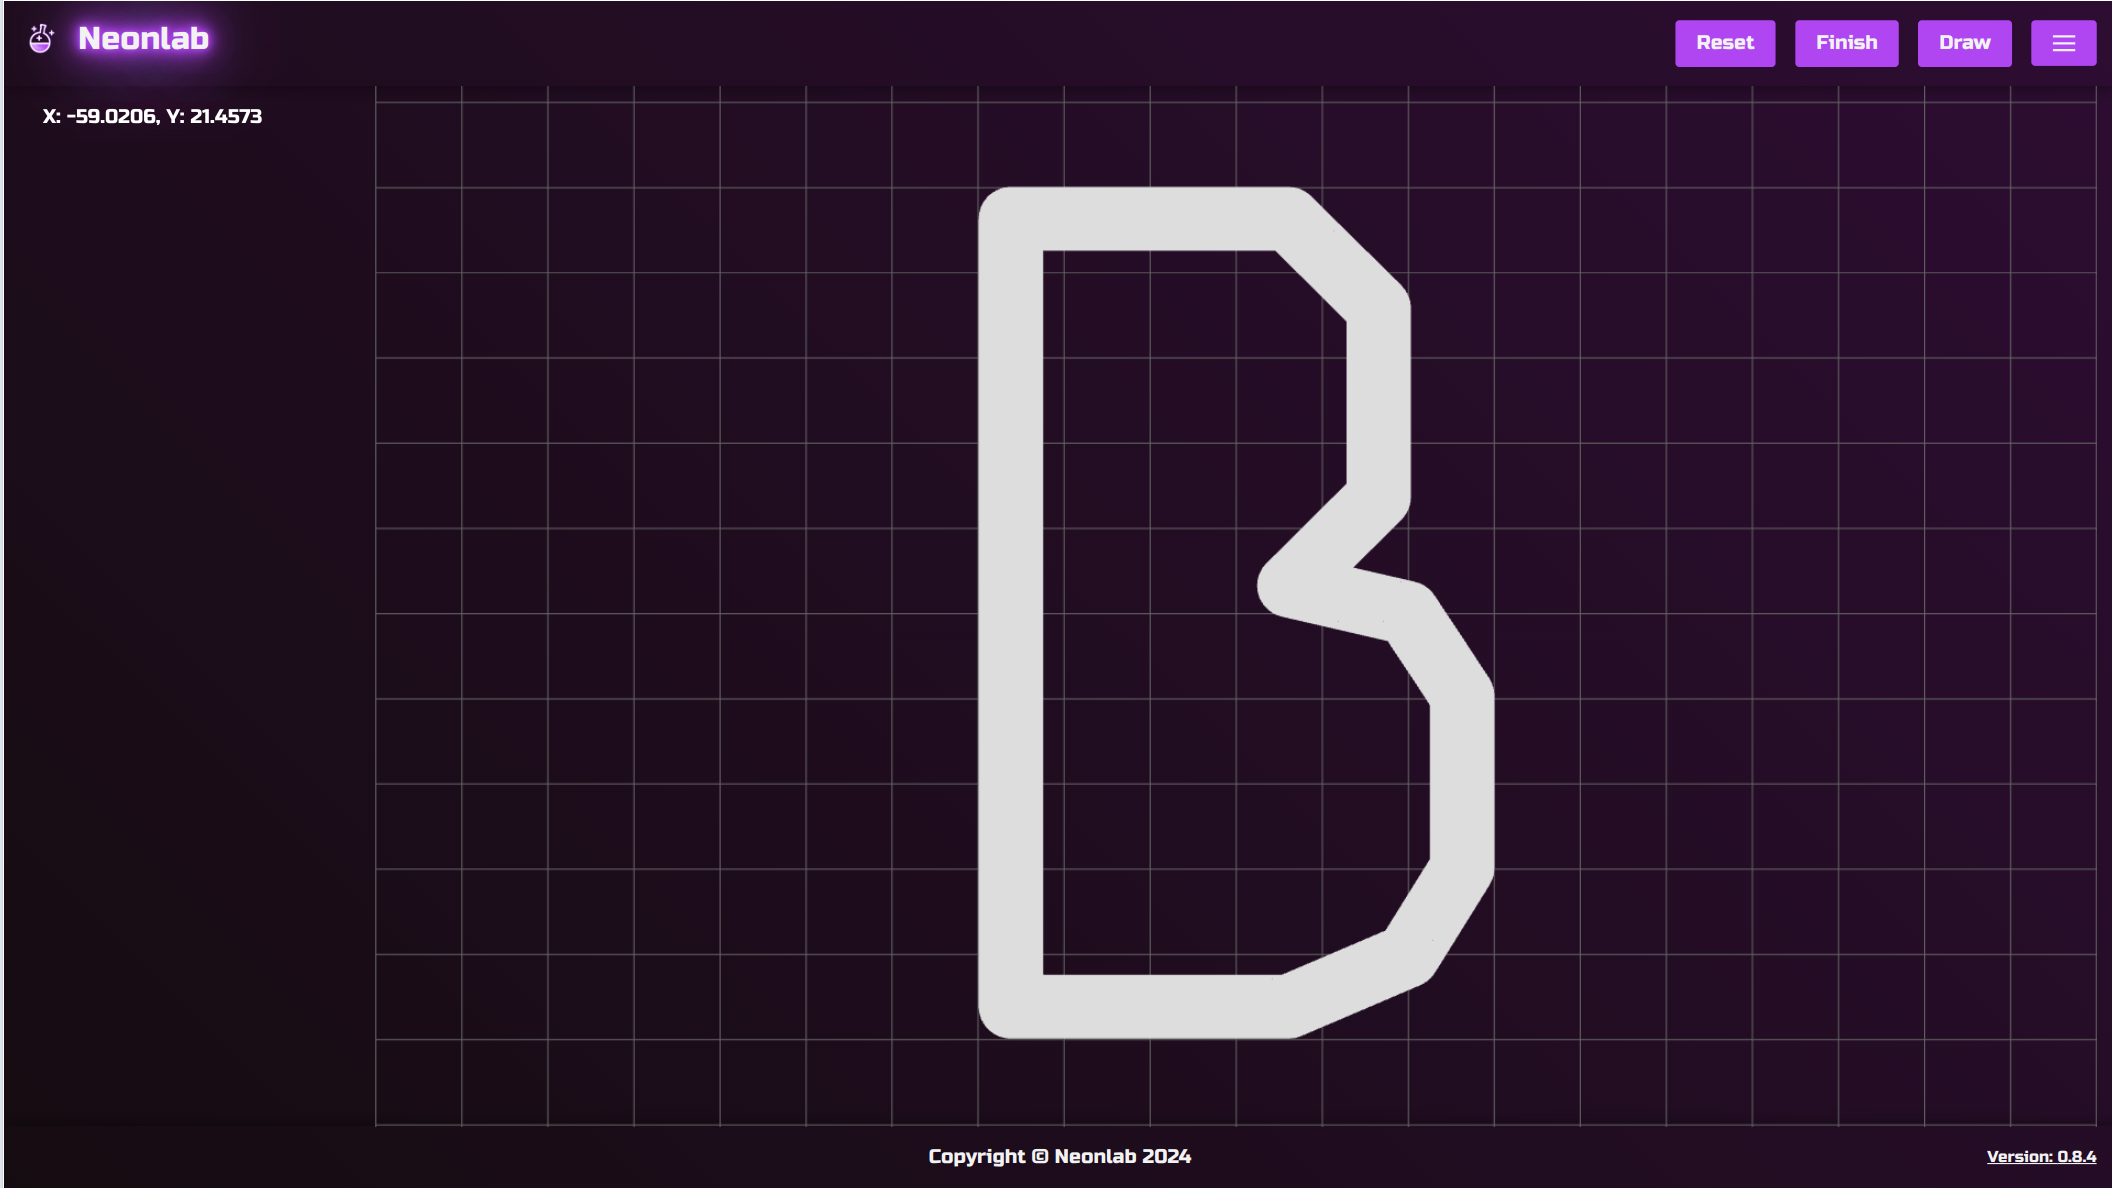
Next step of tutorial is finish drawing. When you are done click “Finish” or start over by clicking “Reset”. You can also keep drawing by clicking “Draw”. This can be useful to draw again when you want to make unconnected parts.
After clicking “Finish” button in the top right corner you can see what your Neon will look like.
Also you can reset right now if what you see is not what you wanted.
Explore a Neon in 3D
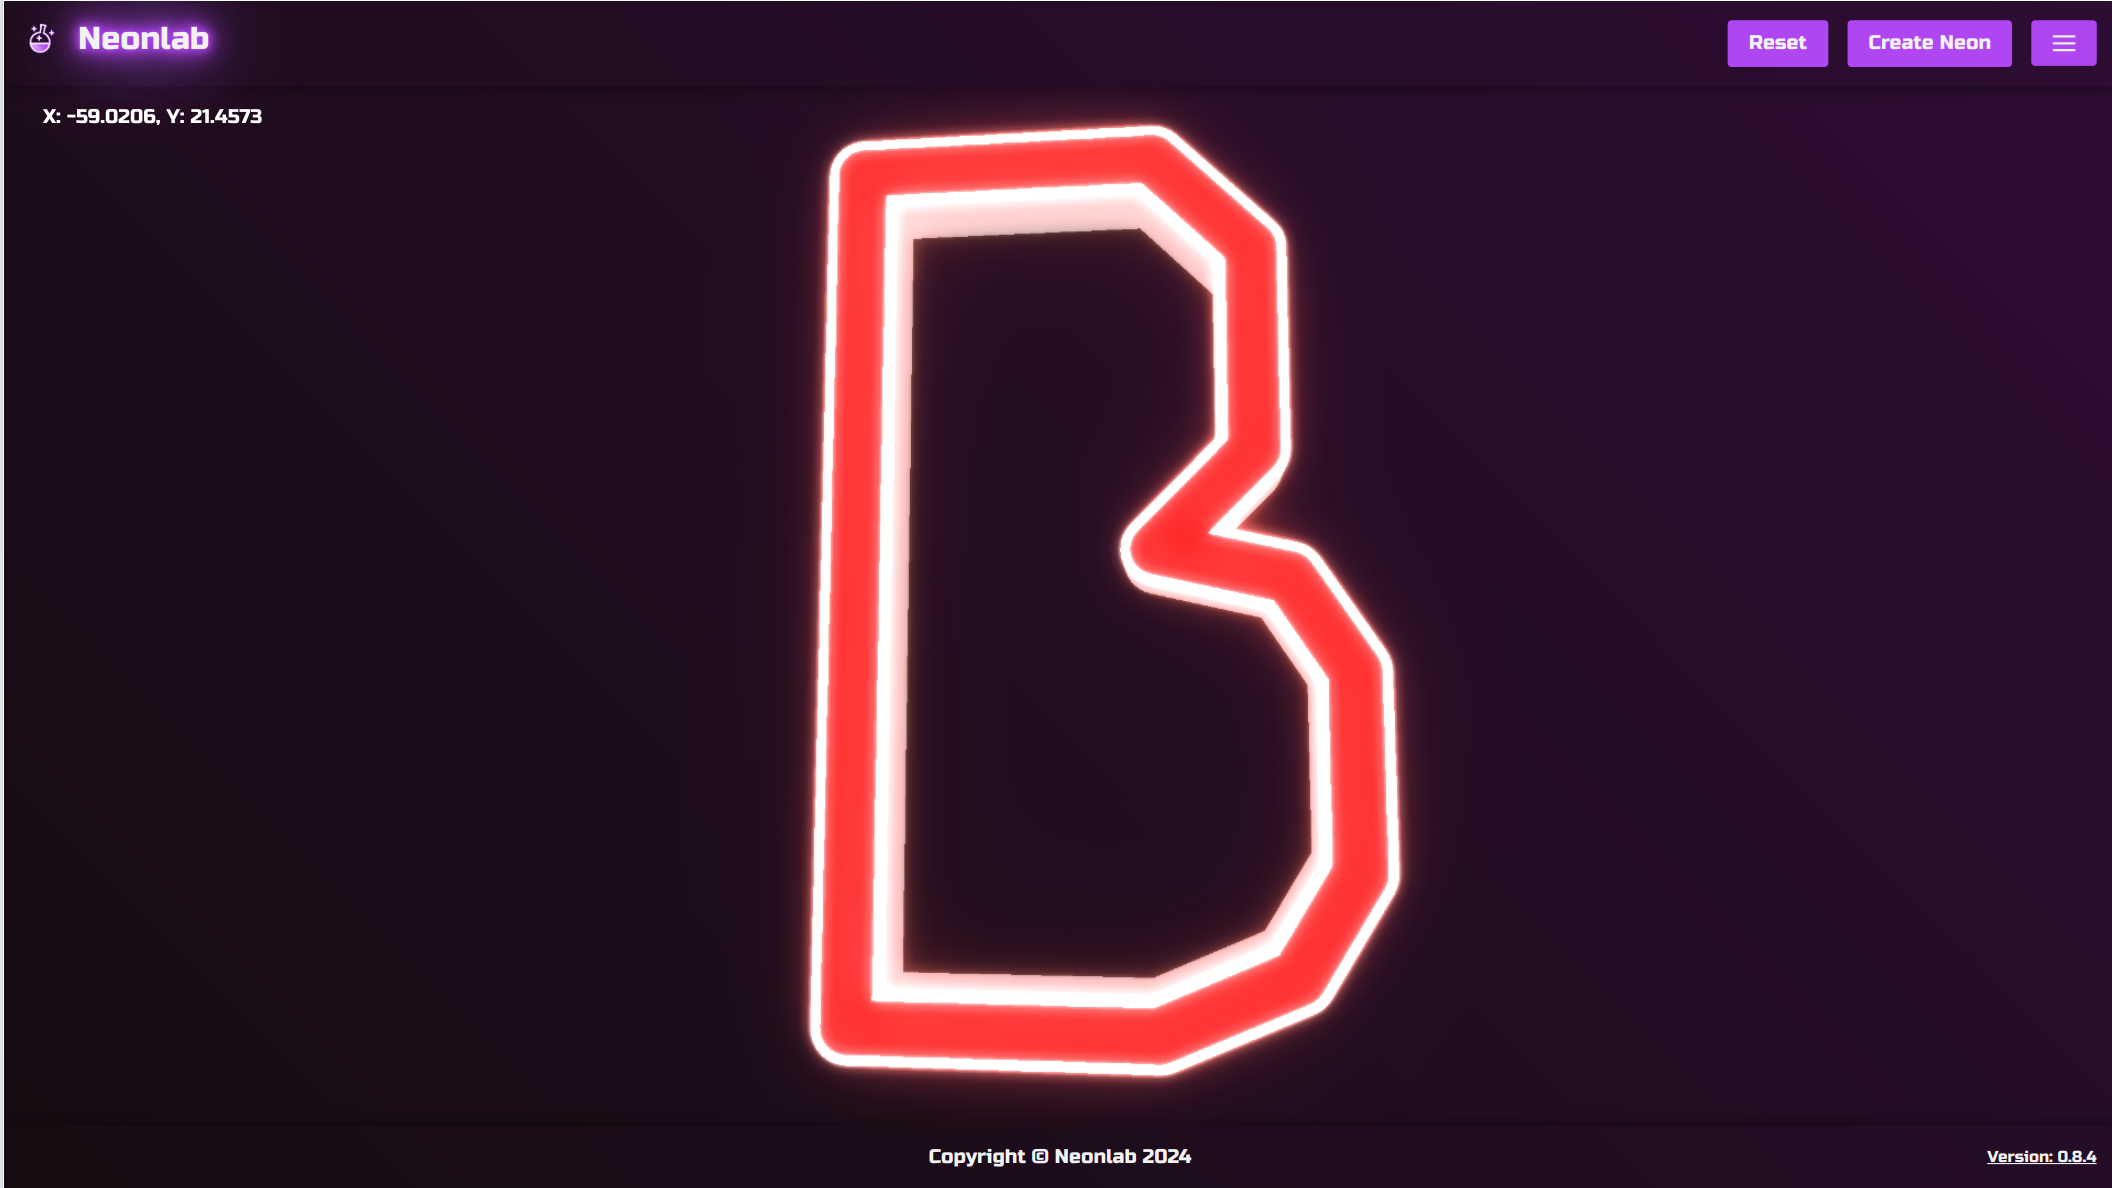
Explore what your Neon looks like right now. Click on any place and start moving mouse to rotate 3D model you created. Here are two options right now you can make. First click “Reset” and start over.
Or click “Create Neon” and save this project for you to download later.
Create Neon
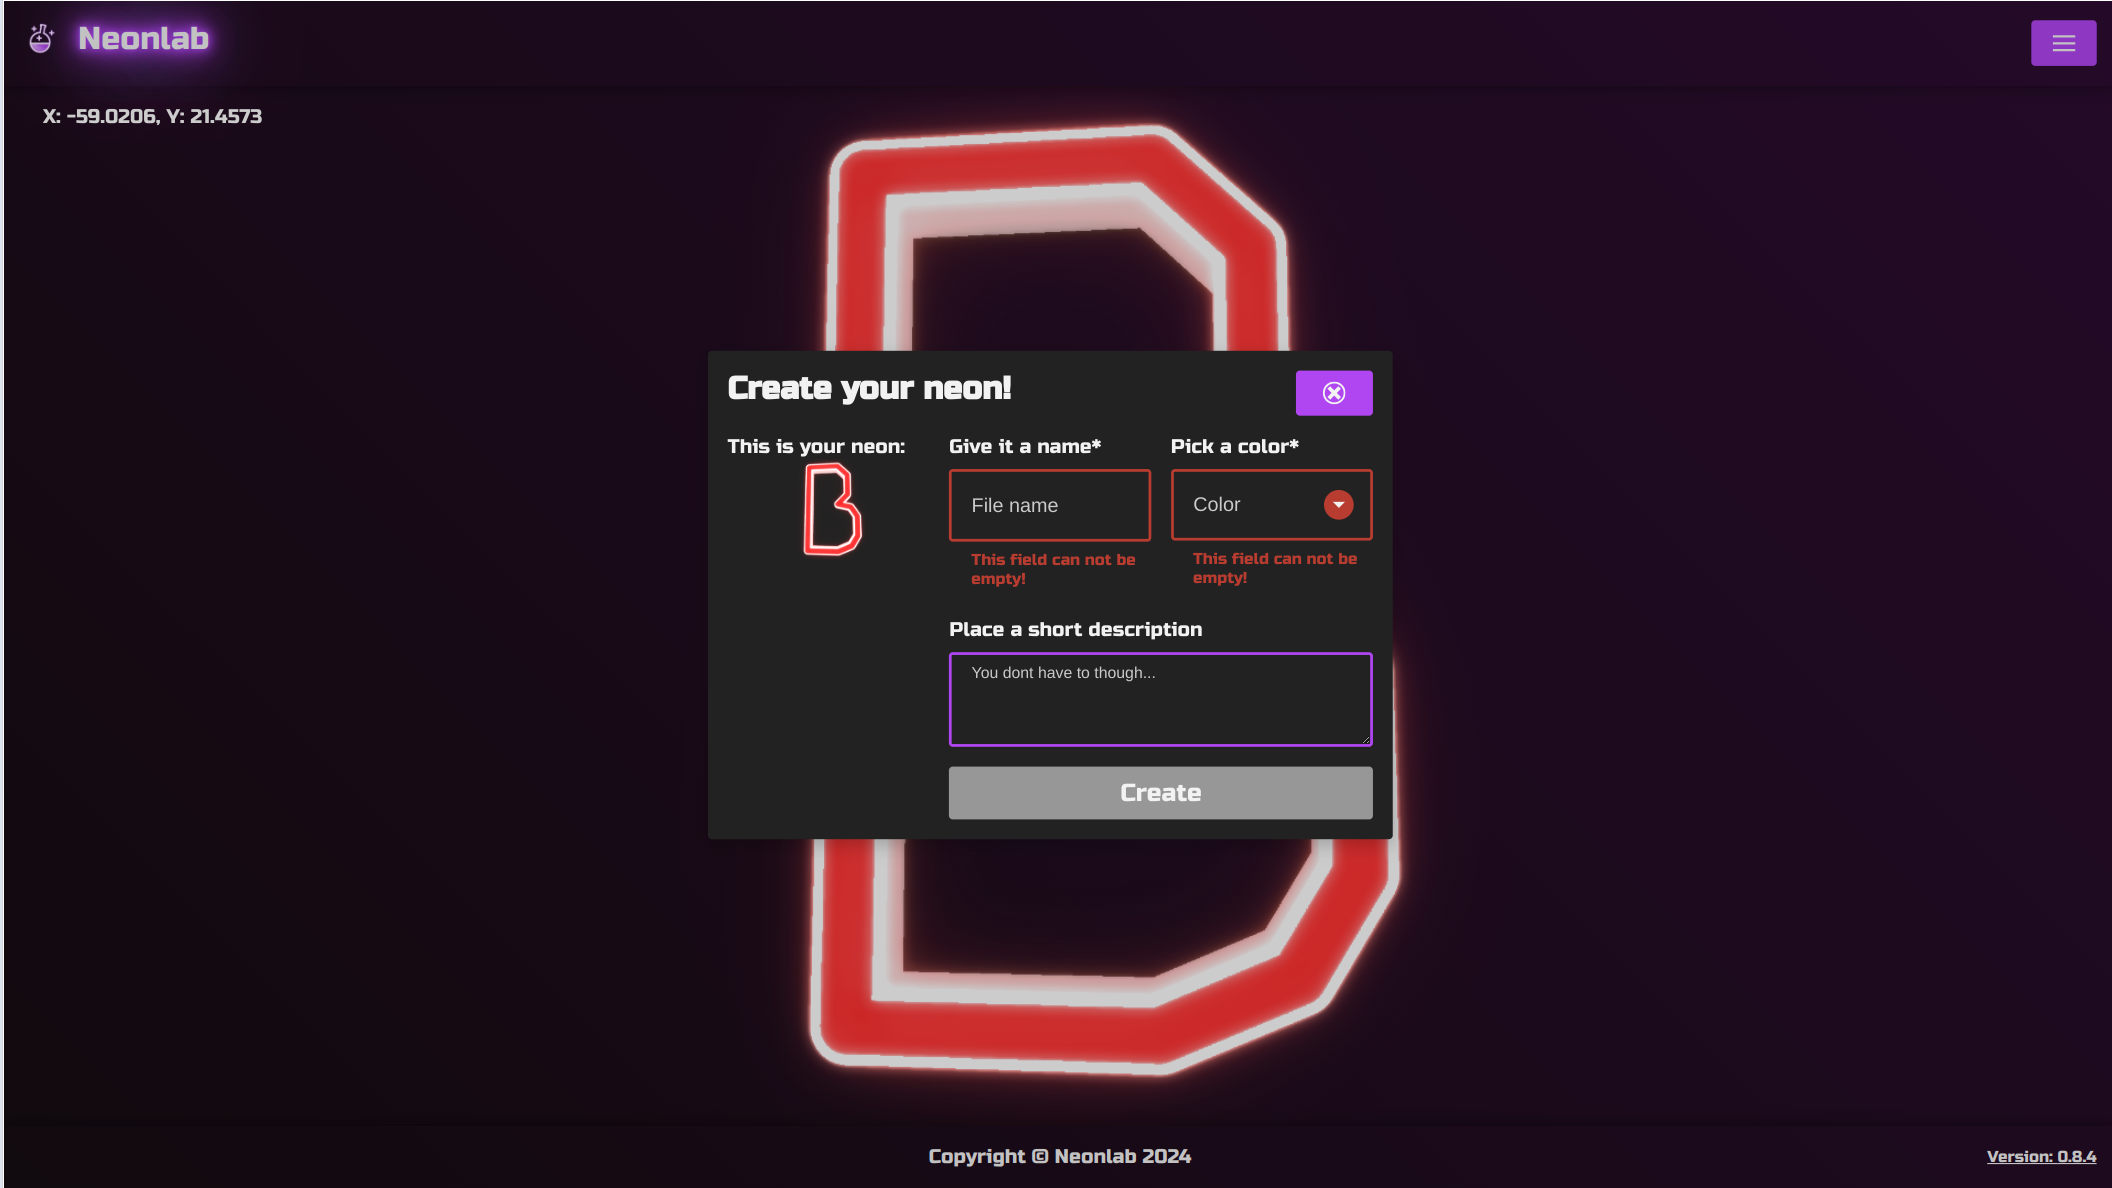
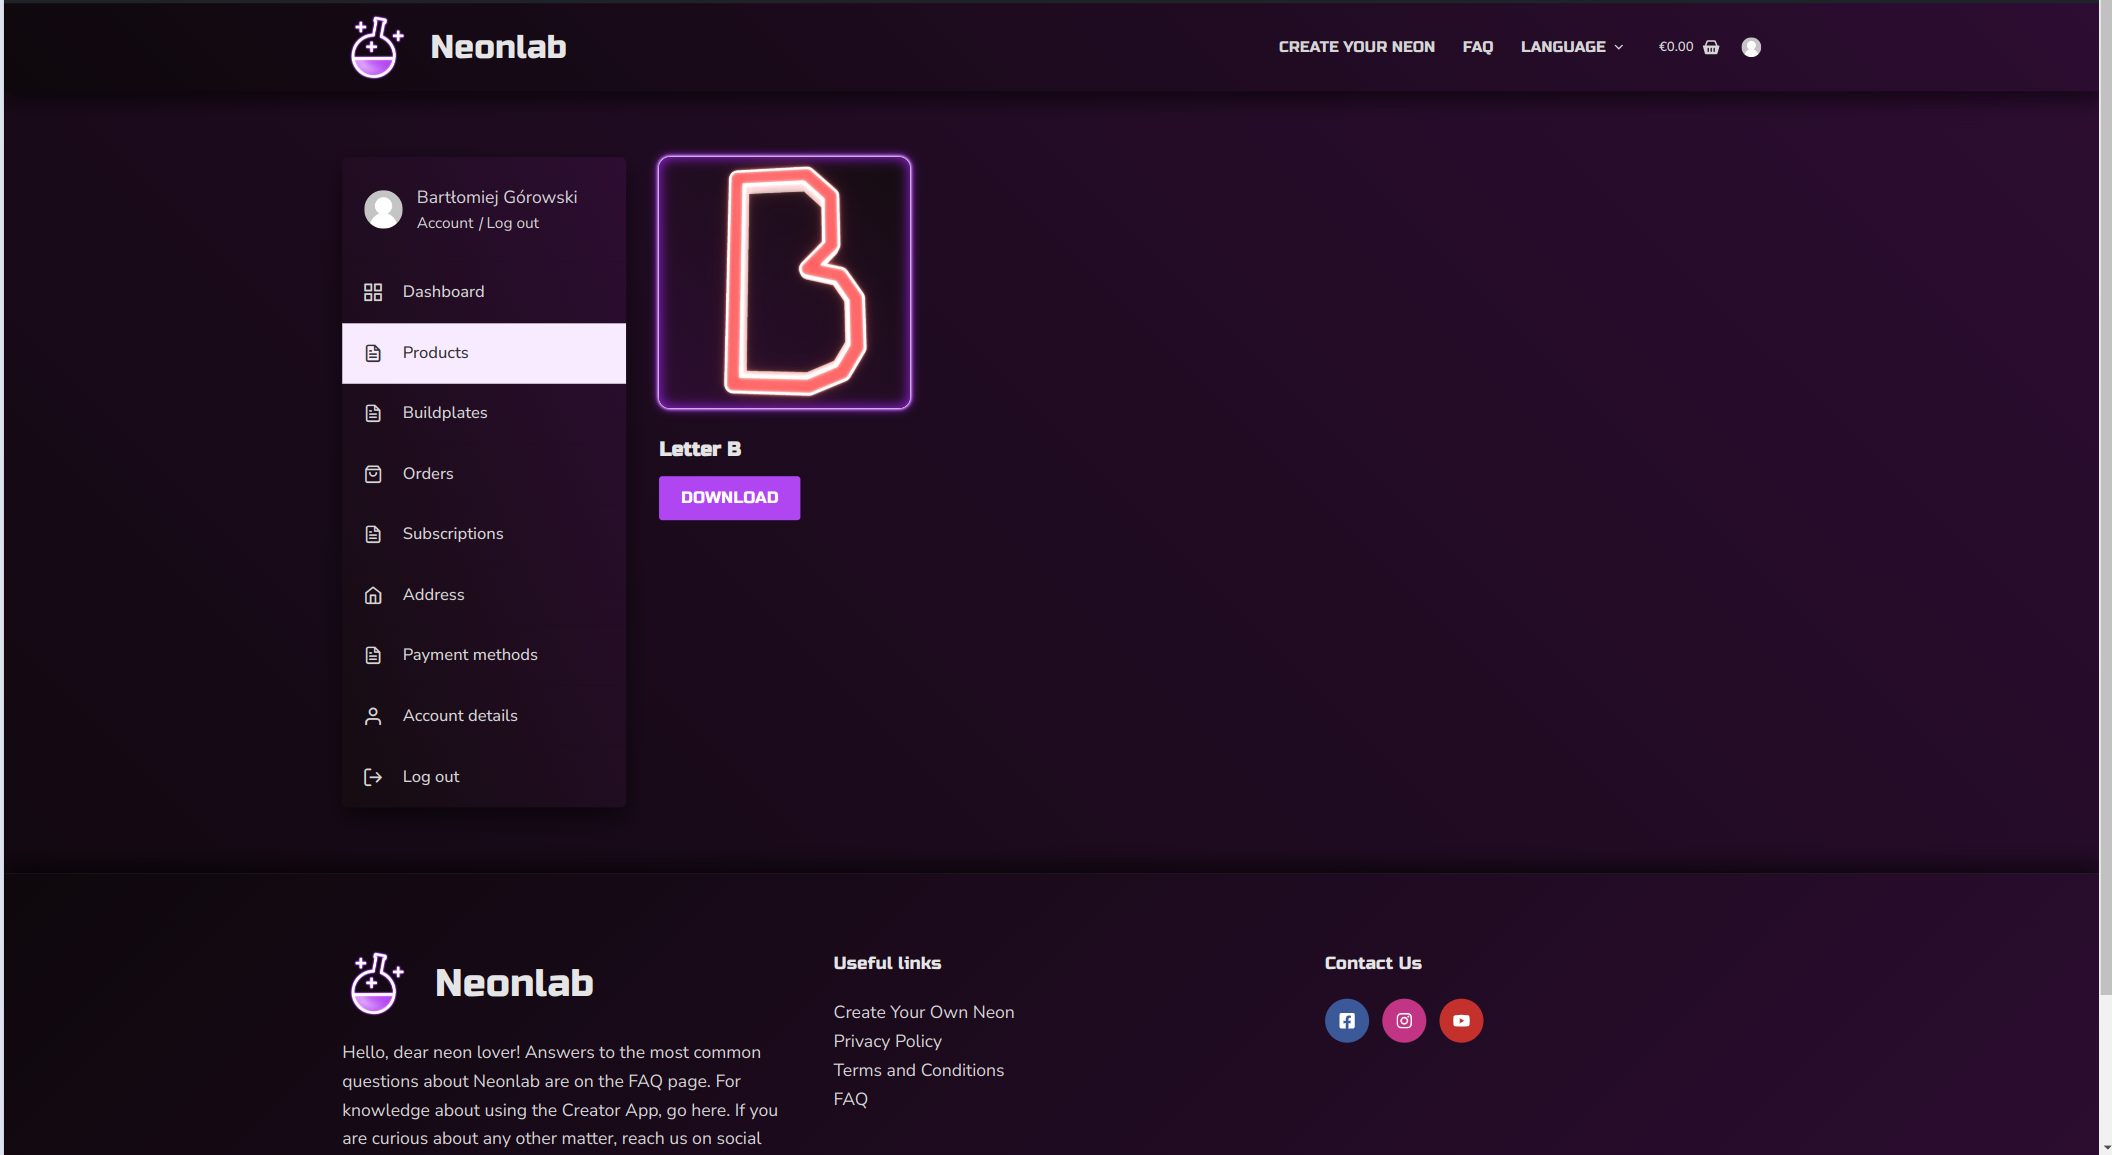
If you clicked “Create Neon” you should see a modal like on screen. Just name your Neon, pick a color and if you want fill some short description but that’s optional. Then click “Create” and you will be redirected on your account page. Right now you should see products and top one will be your newly created Neon. That wraps this tutorial up.
Download 3D Model
Congratulations! You have created your first Neon LED 3D Model and finished the tutorial. Now your Neon projects will be stored here for you to download in STL format. Enjoy designing 3D projects and making it physical.